Create a Schematron validation configuration
 Before you begin
- Schematron files must use the .sch file extension, so that after uploading they have a Component Type in Inspire of Schematron.
- You must have already imported your Schematron files into Inspire. Follow the steps in: Upload Schematron files.

To create a Schematron validation configuration:
-
From the
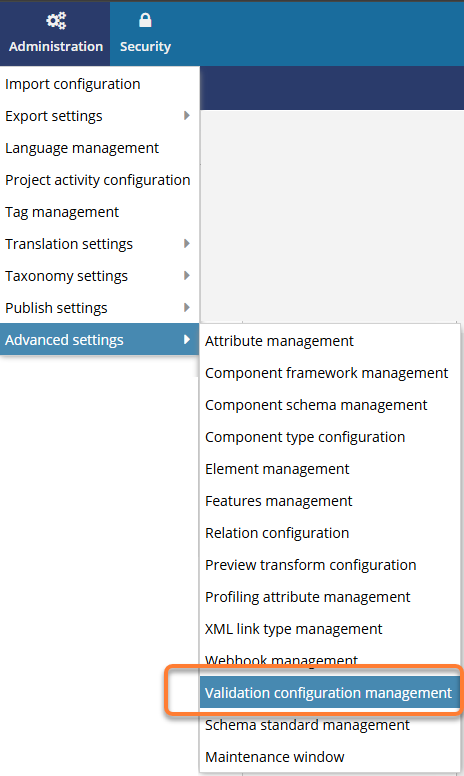
 Administration menu, select Advanced Settings, and then Validation Configuration Management.
-
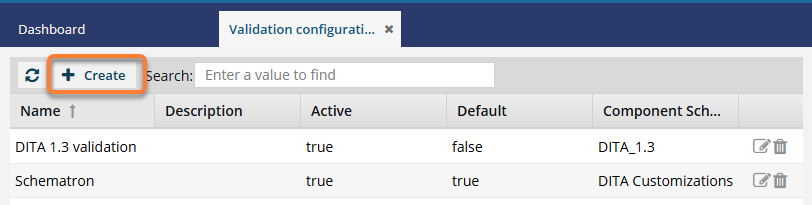
On the Validation configuration management tab, click Create.
 Result: The Create Validation Configuration screen opens.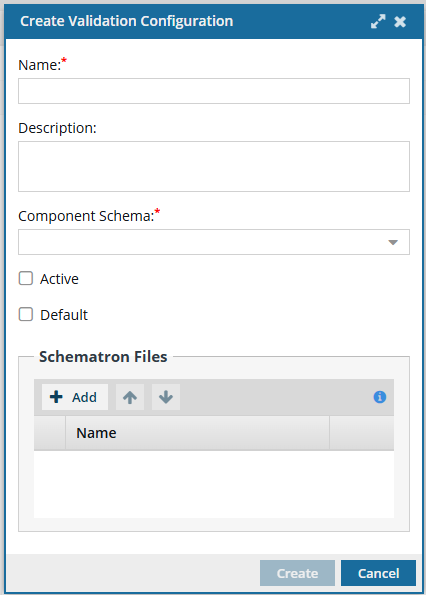
-
Optionally, in Description, you can add more details for administrators.
 Users won't see these details when they are prompted to choose a validation configuration in the Components browser or a project.
 -
In Component Schema, select a schema that exists in Inspire.
Tips:
- By default, you will see DITA 1.2, DITA 1.3, DocBook 5.0.
- If you added a custom schema, it is also listed. If you want to add one, refer to: Use custom schemas.
-
In Default, do one of the following:
- Usually you select the Default option to ensure that this validation configuration is automatically selected when the Validate XML screen opens. However, the previously applied validation configuration is set by default. You must also select the Active option.
- If you want this validation configuration to be shown in the list but not automatically selected when the Validate XML screen opens, leave the Default option unselected.
- Usually you select the Default option to ensure that this validation configuration is automatically selected when the Validate XML screen opens. However, the previously applied validation configuration is set by default.
-
Under Schematron Files:
-
On the Select Components screen, locate your Schematron files and select the checkbox for one or more files that you want to use. Click Select.
Results: The Select Components screen closes, and your files are listed under Schematron Files.
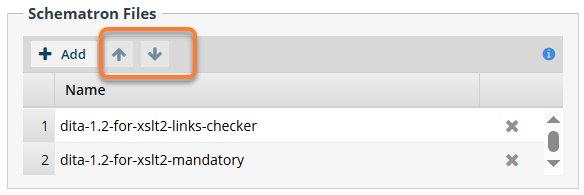 You can select a file in the list and then use the arrow keys to re-order them.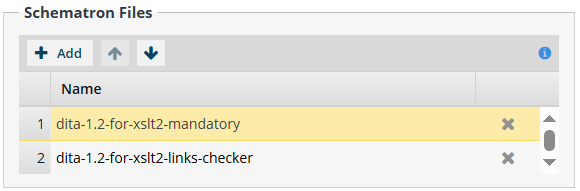
-
On the Select Components screen, locate your Schematron files and select the checkbox for one or more files that you want to use. Click Select.
-
Click Create.
Results:
- You see your validation configuration listed on the Validation configuration management tab.
- When using the right-click or context menu
 option in the Components browser or a project, and selecting Validate XML, users are prompted to select a validation configuration.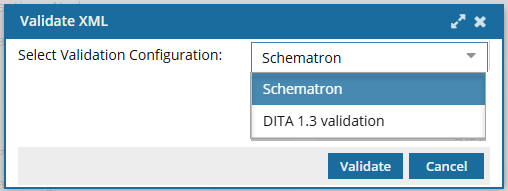
- The configuration you just created is listed as an option if you selected Active.