Replace a binary file
To manage image and binary files, you can import a new binary image to overwrite an existing one. Inspire gives the imported binary file the same filename as the component you selected to replace. The component name also stays the same, and a new history record is created. The content in the component you replaced now exists only in previous snapshots.
 Tips and tricks
If you don't want to replace a binary file, there are other ways you can import it, and the file will have its own unique filename and component name.
- Specify the address where it's located using a URL. Use this method if you don't want to import it into Inspire. Follow the steps in: Insert an external image.
- Import a new file that does NOT overwrite an existing one with the same or similar content. Follow the steps in: Import components.
- Copy an image from your desktop and paste it directly into an Oxygen topic. This imports the file into the same folder as the component. Follow the steps in: Copy and paste an external image.
- Use drag-and-drop to add and import. Follow the steps in: Drag and drop an image into a document.

 Before you begin
- Make sure you understand the rules, restrictions, and supported file types before you import content.
To replace a binary:
-
From the top menu, click
 Components.
-
Right-click the binary file and select Replace.
 Result: The Replace Component (Step 1 of 3) screen opens.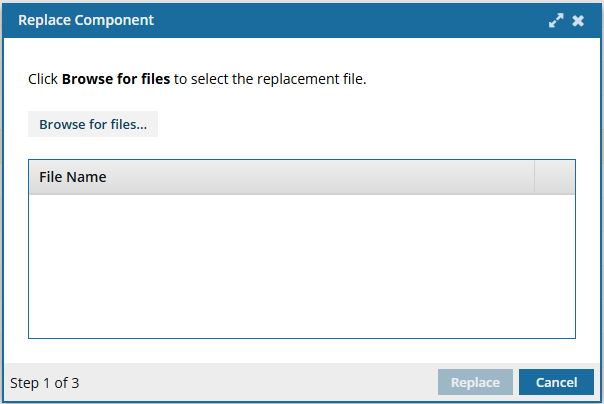
-
On the Open screen, locate the binary file, click it, then click Open.
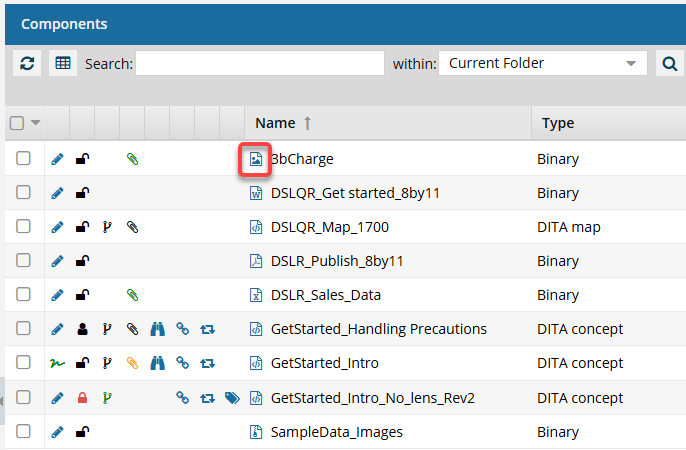
 You can find binary files by looking at the icon before the Name (
 ,
, ,
, ,
, ,). All XML files that are not binary have
  an XML file type icon. You cannot choose this file type.
 Result: The Replace button is now available.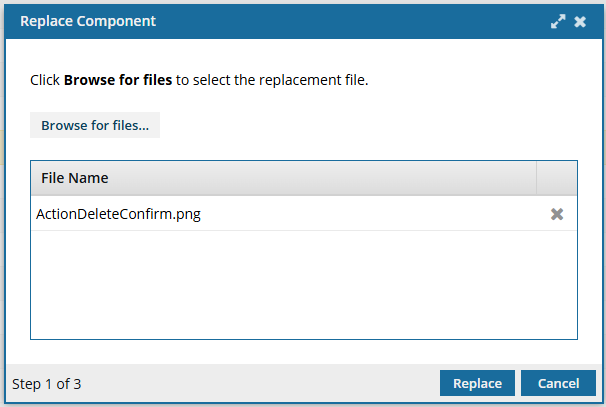
-
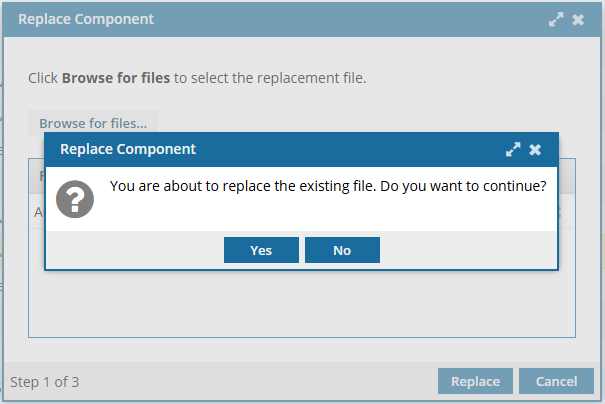
On the confirmation screen, click Yes.
-
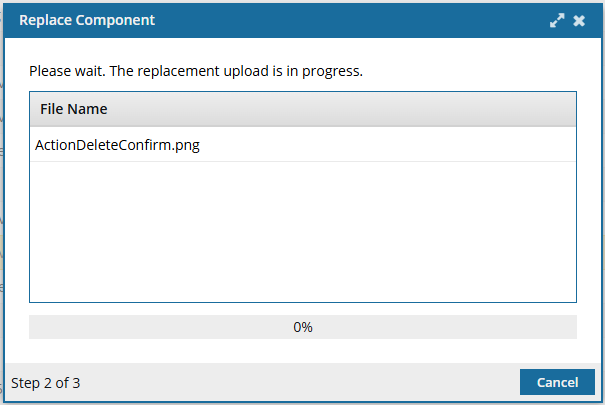
On the Replace Component screen, you see a message that the replacement upload is in progress and the step changes to Step 2 of 3.
-
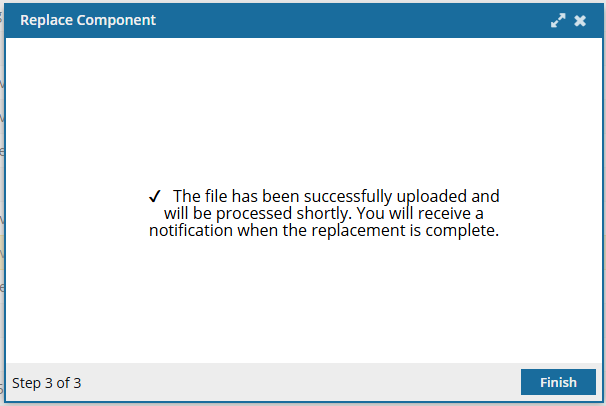
On the Replace Component (Step 3 of 3) screen, click Finish.
 Results:
 - The imported binary file now has the same component name and filename as the component you selected to replace.
- The content in the component you replaced now exists only in previous snapshots.
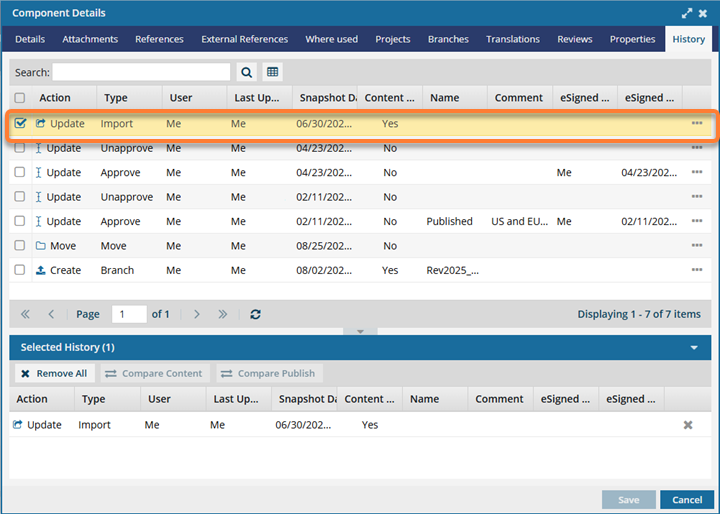
- A history record is created for the replacement action, where:
- Action equals Update
- Type is Import
- Content Changed is Yes
When you complete a task that triggers a notification, such as importing content, the Slack and email message bodies contain:- The notification with ten or fewer Issues, Errors, and Warnings.
- A link at the bottom of the message [See Full Version]
- You can click the [See Full Version] link to expand a section under the link with the full details.
 If you see the following message, read Understanding import error messages.