Import components by browsing
If you want to add a file from your computer to Inspire so you can use it in topics, projects, reviews, and translations, then you must import it. You can import files from the Components browser or a project folder.
 Tips and tricks
Importing an entire folder structure
When you need to import content, you can import an entire folder structure and all its content by importing a ZIP file. During this process Inspire creates the sub-folders in the parent folder you select using the paths in the ZIP file. All references in the ZIP file are created even if there are duplicate file names.
- You can import a folder structure from the Components browser. Follow the steps in Import a folder structure from the Components browser.
- You can also import a folder structure when you're working in a project. Follow the steps in Import a folder structure from a project.
 If you import a ZIP file that contains folders and references that use a shorthand syntax (#./), the imported components show a valid relationship regardless of whether an administrator configures Inspire to Allow internal links to use a short format.

Generating element IDs
When you import an XML file with elements, Inspire will either assign a unique ID to all elements that don't have one, or only to supported elements. If you are an administrator read Create automatic IDs for all elements.
After importing content, you may or may not have generated element IDs. An administrator can configure an element to never be assigned an ID. You can verify if elements in the imported content have an ID by opening them in the Oxygen editor.
For example, if a Ditabase component is created or imported into Inspire, normally an ID is automatically added to the root level <Dita>. For Ditabase, this ID makes the component invalid when opened in the XML editor because ID is not allowed on a Dita component.
If an element is configured to not use IDs:
- When content is imported, no ID is generated
- In the Oxygen editor, no ID is generated when the Generate IDs or Save and Submit options are used
- This behavior is enforced even if the automaticIds option is turned on
Importing malformed XML
 If you import an XML that has incorrect syntax or uses illegal character, Inspire no longer imports the XML file as a binary with an InvalidXML file type.
- If your document does not conform to the XML syntax rules of a Document Type Definition (DTD), XML Schema, or other type of schema that defines the structure of an XML document, you see an error.
- After Inspire shows you an error, the malformed XML file is skipped.
 You can correct the XML errors and try again
File names must be 100 characters or less
- When you create a component in Inspire, you must use a file name of 100 characters or less.
- When you export a component, a GUID (globally unique identifier) is added to the file name.
- When you import a file back into Inspire, the file name and GUID together must not exceed 200 characters.
- If the file name and GUID length exceeds 200 characters, Inspire won't import the file.
The files can't be part of an active translation job
When you import files by opening a folder's Options menu and selecting import, Inspire checks to make sure none of the files are in an active translation job.
If the files you are importing are part of an active translation job:
- The entire import will fail, even if some files are not part of an active translation job.
- You see an error message: You are trying to import files that are part of an active translation job. Use the "Import translation" action in the translation management tab instead.
- You see one error for each file you are trying to import that is part of an active translation job. File ({fileName}) was found in translation job ({translation job id}).
To import translation files:
![]()
- Go to the
 Translation Management tab.
 - Select the job that the files belong to.
- Right-click the job or click the
 Options menu.
 - Select Import translation...
For more information, read Import translated components.
Import a file by browsing
-
Click
 Components.
-
To complete step 4 of 4, click Finish.
 Results:
You see a message that the import process has begun. You'll receive an email when the import completes.
 Inspire either assigns a unique ID to all elements that don't have one, or only to supported elements. This is configured by your administrator. If you import a ZIP file that contains folders and references that use a shorthand syntax (#./), the imported components may show an invalid relationship icon. To import a ZIP file that uses a shorthand syntax and see valid relationships, an administrator must Allow internal links to use a short format.
If the import fails, you'll receive an email with a list of issues found with the imported files.
You can verify that you imported the correct file by looking at the preview displayed in the Components browser in the More component information panel.
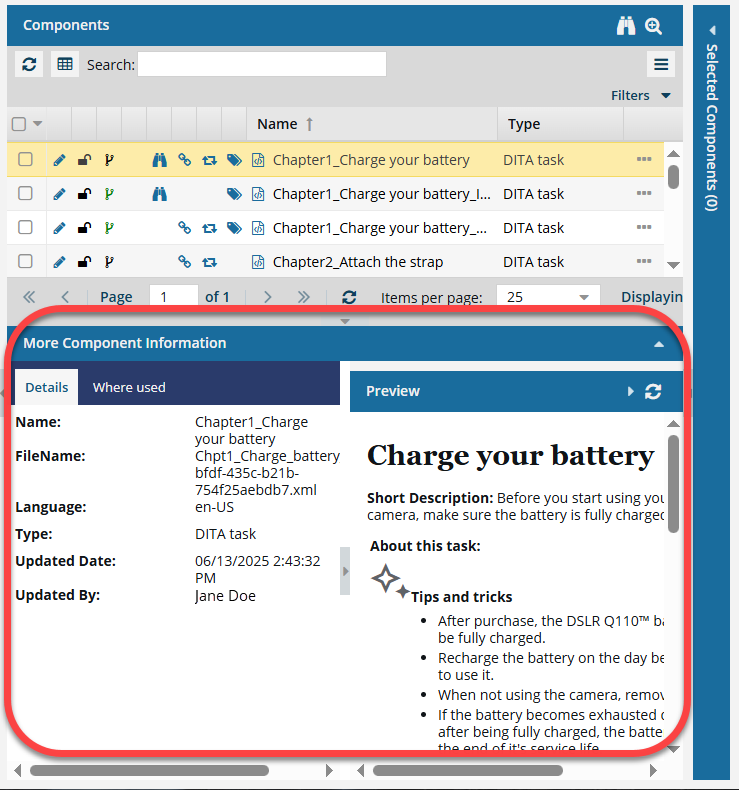 The Preview pane is always shown no matter which tab you select.
- Use the scroll bar to see more content in the preview.
- You can collapse the Preview pane if you want to make more space for the Details or Where used pane
If the panel isn't open, click the down arrow in the pane's title bar.

Import a file from a project
-
Click Components.
-
On the Import Components dialog, to complete step 1 of 5:
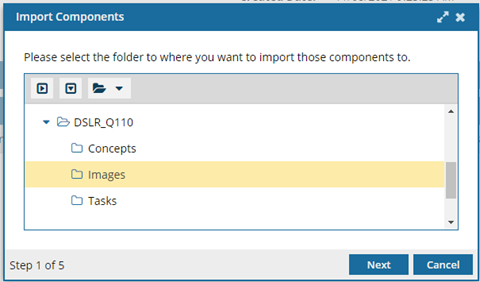
- Select again the folder where you want to store the file you're importing.
- Click Next.
-
To complete step 2 of 5:
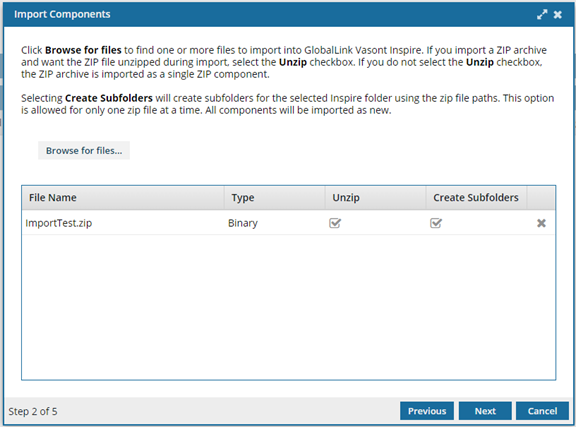
- Click Browse for files.
- Select one or more files to import and click Open.
- If not already selected, select Unzip.
- Select Create Subfolders.
- On the Import Components dialog, click Next.
-
To complete step 3 of 5:
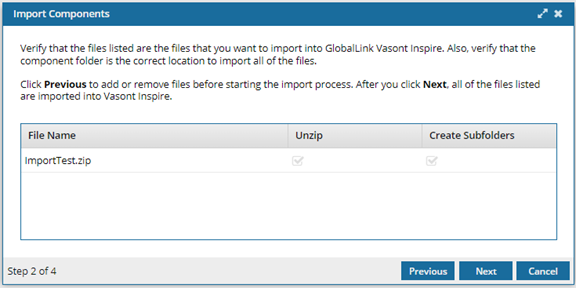
- Review the list of files.
- Click Next.
-
To complete step 4 of 5:
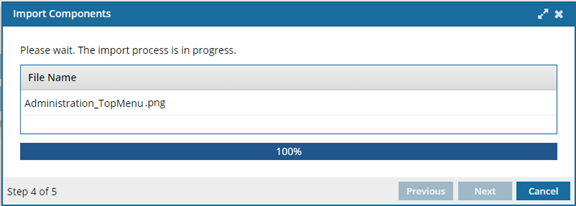
- Wait for the files to be imported.
-
To complete step 5 of 5, click Finish.
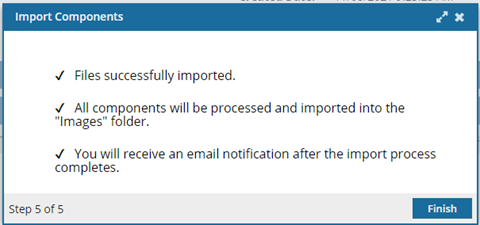 Results:
You see a message that the import process has begun. You'll receive an email when the import completes.
Inspire either assigns a unique ID to all elements that don't have one, or only to supported elements. This is configured by your administrator.If the import fails, you'll receive an email with a list of issues found with the imported files.
When you complete a task that triggers a notification, such as importing content, the Slack and email message bodies contain:
- The notification with ten or less Issues, Errors, and Warnings.
- A link at the bottom of the message [See Full Version]
- You can click the [See Full Version] link to expand a section under the link with the full details.
You can verify that you imported the correct file by looking at the preview displayed in the Components browser in the Content details pane.
If you think the preview isn't showing the latest version, click
 Refresh.