Create automatic IDs for all elements
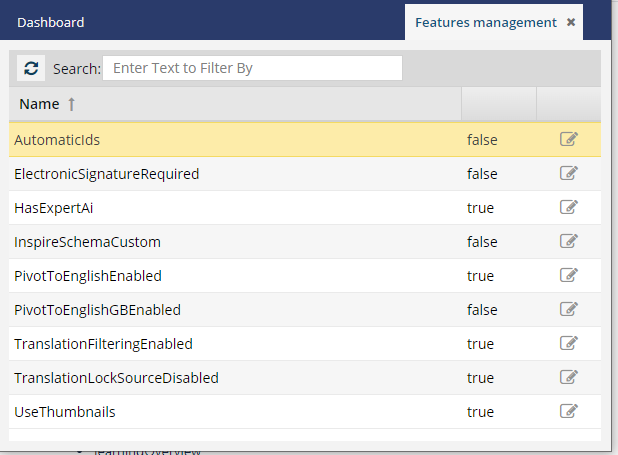
An administrator can turn ON or OFF the AutomaticIDs feature in Features Management. By default, this feature is turned OFF (set to false) and IDs are only assigned for supported elements.
 When an administrator creates or updates an element in Element Management, they can indicate if an element should never get an ID.
- The Skip Id option is used when a DTD doesn't support an ID for an element.
- For example, if a Ditabase component is created or imported into Inspire, normally an ID is automatically added to the root level
<Dita>. For Ditabase, this ID makes the component invalid when opened in the XML editor because ID is not allowed on a Dita component.
- For example, if a Ditabase component is created or imported into Inspire, normally an ID is automatically added to the root level
- By default, the Skip Id option is not selected.
- If an element has Skip Id set to true:
- When content is imported, no ID is generated.
- In the Oxygen editor, no ID is generated when the Generate IDs or Save and Submit options are used.
- This behavior is enforced even if the automaticIds option is turned on.

When a user edits a component in the Oxygen editor and selects  Generate unique ID:
- If the AutomaticIDs feature is ON (true), IDs are assigned to all elements in the component.
- If the AutomaticIDs feature is OFF (false), IDs are only assigned for the following supported elements:
|
|
|
To create automatic IDs for all or some elements:
-
On the Features Management tab:
- After AutomaticIDs, note the state. If the feature is enabled, it says true.
-
After AutomaticIDs, click
 Update.
-
The checkbox is highlighted in blue. To change the state, clear or select the checkbox.

- To enable the feature, select the checkbox.
- To disable the feature, clear the checkbox.