Add or remove reviewers
When a review is in a State of Reviewing or Resolving, you can add reviewers. You can also end a reviewer's participation in a review by removing them. If a review is in a State of Cancelled or Completed, you can only view the settings.
To add or remove reviewers:
-
Click
 Reviews.
-
On the Reviews Management tab, in the list of reviews, select the review, right-click the row, and then select Open details.
 You can also access this option by clicking the context menu
  and selecting Open details.
 -
On the Update Review dialog, in the Reviewers list, to add users to this review, click Add Reviewer.
 Result: You see the Select Users/Roles screen.
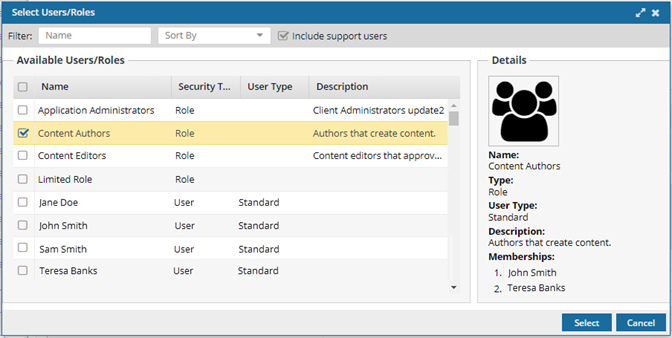
-
If the list is large or you only want to see a certain type of role or user, you can narrow the list in the following ways:

- To see only names that contain a word or specific letters, in Filter, enter text. For example you can find names that contain "admin", or "review". You can't search for text in any other column except Name.
- To see all users and roles but sorted by Name, Security Type, or User Type, click the column heading and then click the grey arrow.
-
To see all roles listed first, sort the list by Security Type in ascending order. Click the Security Type column heading, click the grey arrow, and then select
 Sort Ascending.
-
To see all users listed first, sort the list by Security Type in descending order. Click the Security Type column heading, click the grey arrow, and then select
 Sort Descending.
- To sort by Name or User Type you can also use the Sort By dropdown box.
- By default, names with a User Type of Support are not included in the list. To see these users, select the Include support users option.
-
On the Select Users/Roles screen, in the Available Users/Roles list, do any of the following:
Results:
- You are returned to the Create Review screen.
- The selected users appear in the Reviewers list.
- If you selected a Role, the members are listed individually in the Reviewers list.
-
By default, all reviewers have Comment Only permission. To change reviewer permissions to Comment & Track Changes, do one of the following:
- To grant editing permissions to a user, in the Reviewers list, go to user's the row and select Track Changes.
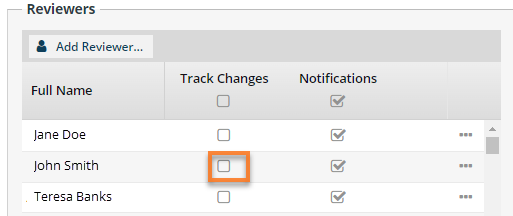
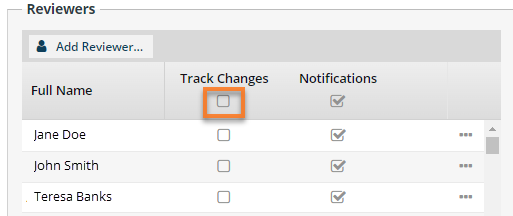
- To grant editing permissions to all users in the Reviewers list, go to the row that shows the list's heading. Select Track Changes.
- To grant editing permissions to a user, in the Reviewers list, go to user's the row and select Track Changes.
-
In the Reviewers list, to remove any users you don't want to give access to the review content click
 Remove.
 Be aware of the following restrictions for removal:
- If a reviewer has completed their review, you cannot remove them. The Remove Reviewer action is greyed-out and not available.
- If you remove a reviewer before they complete their review, their review assignment is cancelled and the Remove Reviewer action is greyed-out and not available again.
- If a reviewer has completed their review, you cannot remove them. The
-
On the Update Review dialog, click Update.
Results: A message appears confirming the users were added to or removed from the review. Reviewers with Notifications enabled receive an email notification that they were added or removed as a reviewer.