Complete a project
When work is done and you don't want to add any new content, participants, assignments or workflows, project owners and users with permissions can mark a project as complete. Keep in mind that completing a project cancels any unfinished assignments. An administrator or project owner can set the state of a completed project back to Active to allow further changes to the project.
 To view a list of projects that have a State of Completed, follow the steps in View completed projects.
 Use caution when marking a project Complete.
- After you give a project this status, you cannot take actions on project components that can modify the project.
- Component options that you can no longer select when a project has a status of Complete:
- Details...
- Edit...
- Save as...
- Save as a copy...
- Save as a branch...
- Save as a snapshot...
- Rename
- Delete
- Remove from project

To complete a project:
-
If you already have a project open:
-
Go to the first panel that displays the name of the project, the owner, and dates.

-
In the title bar with the project name, on the right side, click the Edit button
 .
.
-
Go to the first panel that displays the name of the project, the owner, and dates.
-
If you don't already have a project open:
-
Click
 Projects.
-
On the Project Management tab, find the project you want to update.
- Filter the list of available projects by words in the project name. In the Search text box, enter a keyword, and then click the magnifying glass

- Filter the list of available projects to include only those you own or are participating in. In Type, select an option to filter the list by that criteria.
- Add completed projects to the list by selecting Include Completed and then clicking the magnifying glass.
- Filter the list of available projects by words in the project name. In the Search text box, enter a keyword, and then click the magnifying glass
-
Right--click the project row and select Update.
 You can also update a project by:
- Clicking the
 Options menu.
 - Selecting Update.
- Clicking the
-
Click
-
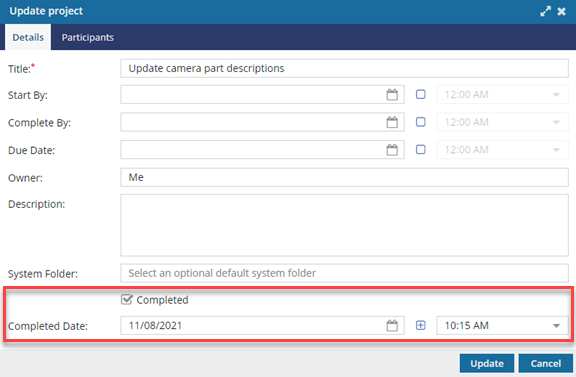
To choose a time when the project is completed, after the Completed date, select the checkbox, and then select a time.
