View component relationships
You can view component relationships and perform actions to browse for new relationships, auto-repair one relationship or all relationships, or save a CSV report of component relationships.
 Tips and tricks
 A content owner or administrator can set permissions to deny access to components or folders. If your permissions to content has been blocked and you are not an administrator, you cannot use the Advanced options in a project's Content pane.
- These instructions tell you how to view component relationships from the Components tab, but you can also do this action on components in a project.
- Inspire now supports content references to ditabase topics. A ditabase topic is a composite topic. Before maps, ditabase was used to collect multiple topics and structure them within a single topic file.
- If you use a conref to a ditabase topic, Inspire no longer identifies it as an invalid relationship.

To view component relationships:
-
Click
 Components.
-
On the Manage relationships dialog, you'll see a list of any invalid references.
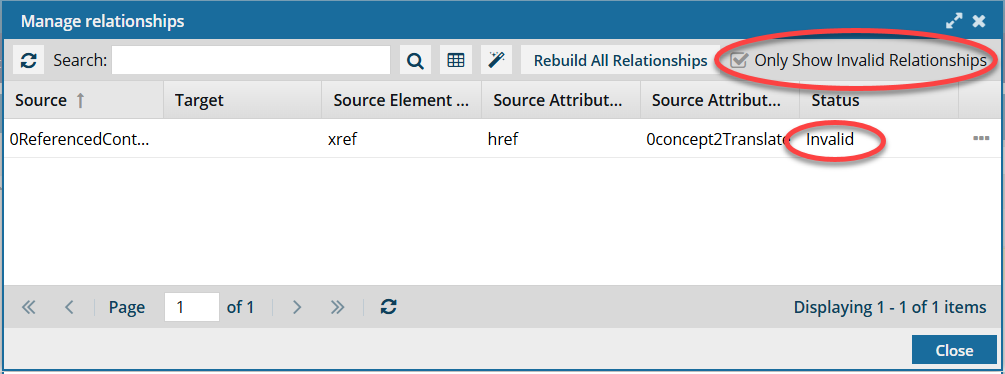
 By default, when you open the Manage Relationships screen, only references that are Invalid are shown.
 -
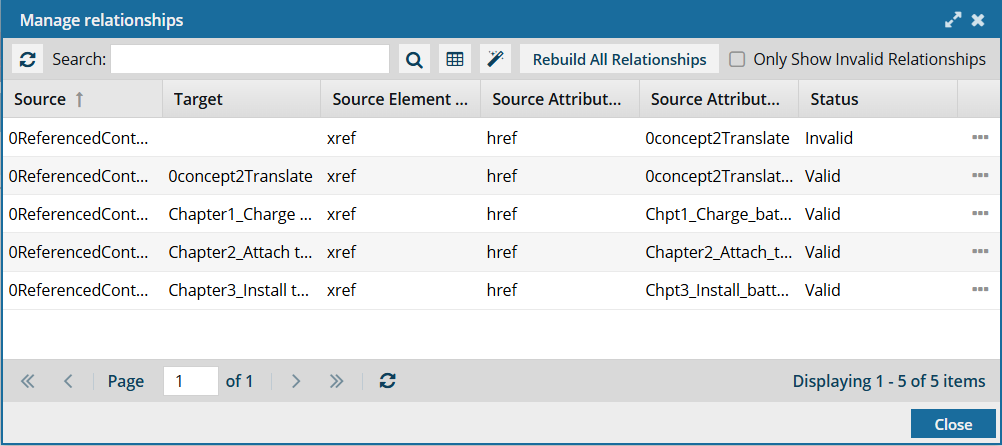
To see all relationships, you must clear the default selection of Only Show Invalid Relationships and click
 Refresh.
-
To filter the list of relationships by words in the component name, enter text in the Search text box and click Search
 .
.
-
Optionally, to save the list of component relationships as a CSV file:
-
Click Save as CSV
 .
.
-
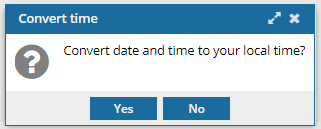
To choose what time zone is used, on the Convert time confirmation screen, select one of the following:
 You see the date displayed in the header of the CSV as: All date/times are shown in {timezone} or UTC.
UTC is a time zone standard used as a basis for all time zones worldwide. It is a constant time scale and does not change for Daylight Saving Time.
- To use your local time, click Yes.
- To use UTC time, click No
-
Click Save as CSV