Update the details for a topic workflow template
Inspire provides you with a template for the process of developing content. If you want to change the name of the template or its type, you can edit the template details.
 You must have permission to work with workflow templates.
- By default, only users with the following permissions can create project workflows and assignments:
- Administrator permissions
- Access to the Project Module with the Create permission
- Even if you don't have these permissions, you can be granted a special permission to create workflows and project assignments after a project is created.
- If you are an administrator, refer to Allow users to create project assignments and workflows.

 Tips and tricks
- If you want to change the location of a template from its default location in the Workflows folder, you move a workflow to another folder:
- It retains its file type of Workflow
- When you're working in a project, you can still click Create workflow and then select it
- To move a component, refer to the steps in Move components
To update the details for a topic workflow template:
-
Click
 Components.
-
In the workflow editor, to change the template details:
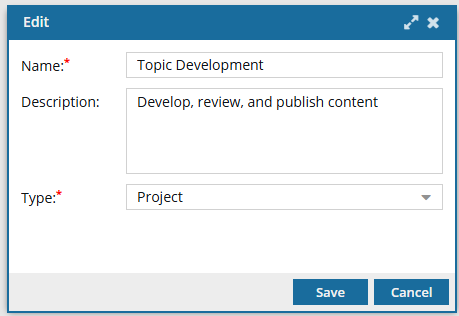
-
In the toolbar at the top of the screen, select
 Edit.
Edit.

-
In the toolbar at the top of the screen, select
-
To save your changes, do one of the following:
- To keep the workflow editor open and save your work locally, click
 Save Progress.
 - To close the workflow editor and save your work to the database, click
 Save and Submit.
- To keep the workflow editor open and save your work locally, click