Create a workflow template component
You create a component to open in the workflow editor by selecting an Available Template type of Workflow and saving it to a folder.
 Required permissions
You must have permission to the Projects Module to work with projects and workflows. Other than that, you do not need special permissions to create, edit, or delete workflow templates.
 However, keep in mind that administrators and other users can set permissions on components and folders.
- You must have permission to edit the workflow template component.
- You must have folder permissions where the template is stored.
- For details on how to check and set permissions, refer to: Set permissions.
 For a complete list of permissions, including starting a workflow from a template, read: Workflow permissions.

 Tips and tricks
- All the same features included in topic workflows are available in new workflow components. For more information, read: Understand the topic workflow.
- You must define all your building blocks before you can create Activities and Transitions. Follow the steps in: Use the workflow editor.
 If you want to save a copy of an existing workflow for editing, use Save As to create a copy for customization. Follow the steps in: Save a copy of a workflow template.
To create a workflow component:
-
Click
 Components.
-
In the Folder pane, select the folder where you want to create a component.
You can save a workflow template to a folder other than the Workflow folder.
-
Right-click the folder, and then select Create Component...
You can access the same menu by clicking
 the Options menu.
 -
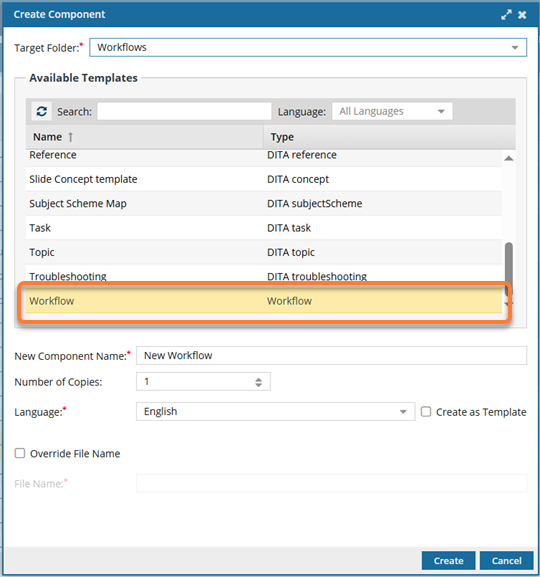
On the Create Component screen, in Target Folder, the location you selected is shown. Do one of the following:
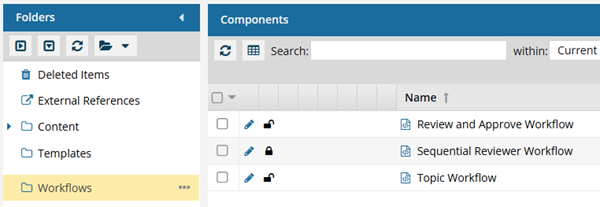
- Save the new component to the place where all other default workflows are saved, in the system-created folder called Workflows.
- Use the drop-down arrow to select a different folder.
If you save a workflow component in a folder other than the default Workflows folder: - It retains its file type of Workflow.
- When you open the component, you can edit it in the workflow editor (not the Oxygen editor).
- You can select it when you're working on a project and click Create workflow.
-
In New Component Name, enter a title for the component in 100 characters or fewer.
You can easily change a component's name after creating it.
-
In Number of copies, the default is set to 1. To create multiple components at once with the same settings, use
 the up and down arrows to set the number of components you want to create.
If this number is greater than 1:
the up and down arrows to set the number of components you want to create.
If this number is greater than 1: - Inspire creates multiple components of the same type in the same place.
- Inspire appends a suffix of (1), (2), (3) to the end of each component's New Component Name
-
Optionally, you can create a File Name that is different from the Component Name by selecting Override File Name.
By default, the File Name is the same as the Component Name, except with underscores instead of spaces. This makes it easier for Web services, scripts, and plugins to process. Inspire will add a GUID and a file extension to the file name after you click Create.
-
Edit the File Name using underscores instead of spaces. (File names must be 150 characters or fewer.)
For more information on the different types of names that Inspire uses, read How to name a component.
-
Edit the File Name using underscores instead of spaces. (File names must be 150 characters or fewer.)
-
Click Create.
 Results:
The screen closes, and you are returned to the Components browser.
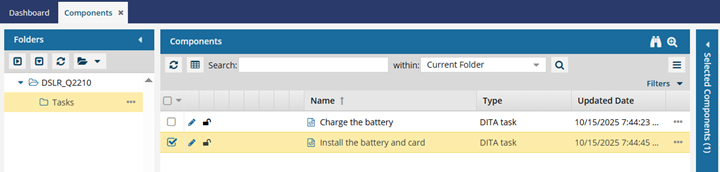
- In the Folders panel, the location you selected in Target Folder is highlighted.
- In the Components pane, the component you created is selected and highlighted in yellow.
You do not need to refresh the Components browser to find your new component.