Unapprove a component in a project
When you're working in a project where you've collected components, you easily can let other reviewers know that a component has gone back to a draft form by giving it an unapproved state.
 Options menu and select Unapprove.
 To unlock a component, you must have at least one of the following roles or permissions:
- Be an administrator.
- Non-admins must be added to the Content Browser's can_unapprove module property.
Otherwise, you see the Unapprove option as greyed out and unavailable.

 A content owner or administrator can set permissions to deny access to components or folders. If your permissions to content has been blocked and you are not an administrator, you cannot use the Unapprove option in a project's Content pane.
- Components browser: Look for any green icons before the name of the component.
- Oxygen map editor: Look for any green icons in the left Outline panel. They are shown by an icon after the name of the component.
 Projects: In any of the following places: the right-click menu, the the Options menu, and the Selected components panel.

After you Unapprove the component, it returns to  the Draft state.
- The system lock is removed.
- Any previously attached e-signatures for approval remains part of the component's history.
Unapprove one component
-
Click Projects.
-
On the Project Management tab, all projects in your organization are listed.
 To find a specific project, you can:
 - Filter the list of available projects by words in the project name. In the Search text box, enter a keyword, and then click
 the magnifying glass.
 - Filter the list of available projects to include only those you own or are participating in. In Type, select an option to filter the list by that criteria.
- To include completed projects in the list, select Include Completed and then click the magnifying glass.
- Filter the list of available projects by words in the project name. In the Search text box, enter a keyword, and then click
-
To open one project, select the project and double-click it.
You can also open a project by:
- Right-clicking the project and then selecting Open.
- Clicking the Options menu and then selecting Open.
-
In the Content pane, select the component you want to unapprove.
You can quickly see all components in the Content pane by clicking
 expand all.
 -
Right-click the component, and then select Unapprove.
You must be an administrator or be added to the Content Browser's can_unapprove module property to unlock the component.
Otherwise, you see the Unapprove option as greyed out and unavailable.
-
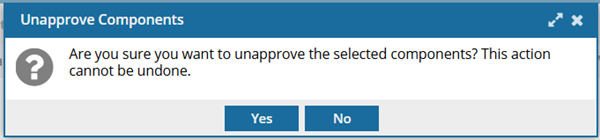
On the confirmation screen, click Yes.
 Results:
 - The components are unapproved and removed from the Selected Components panel.
- In the Content pane's components list, you'll see a blue pencil icon
 next to the lock icon for the unapproved components.
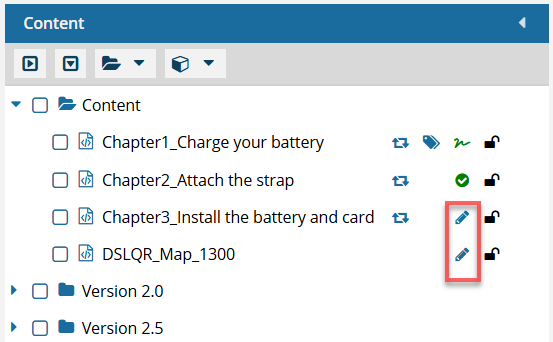
To unapprove multiple project components
-
Click Projects.
-
On the Project Management tab, to open a project, double-click it.
You can also open a project by clicking the Options menu and selecting Open.
-
In the Content pane, click expand all .
-
Select the checkboxes for the approved components you want to unapprove.
 You will see one of the following approved icons next to an approved component:
- If no signature is required: a green checkmark
 .
. - If a signature is required: an e-signature icon
 .
.
- If no signature is required: a green checkmark
-
In the Selected Components pane, click
 the More menu and then select
  Unapprove components.
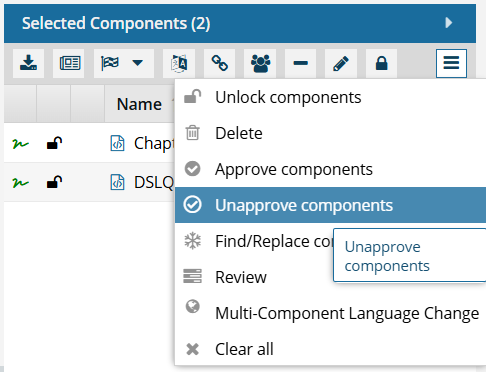 You must be an administrator or be added to the Content Browser's can_unapprove module property to unlock the component.
Otherwise, you see the Unapprove option as greyed out and unavailable.
-
On the confirmation screen, click Yes.
Results:
- The components are unapproved and removed from the Selected Components panel.
- In the Content pane's components list, you'll see a blue pencil icon next to the lock icon for the unapproved components.
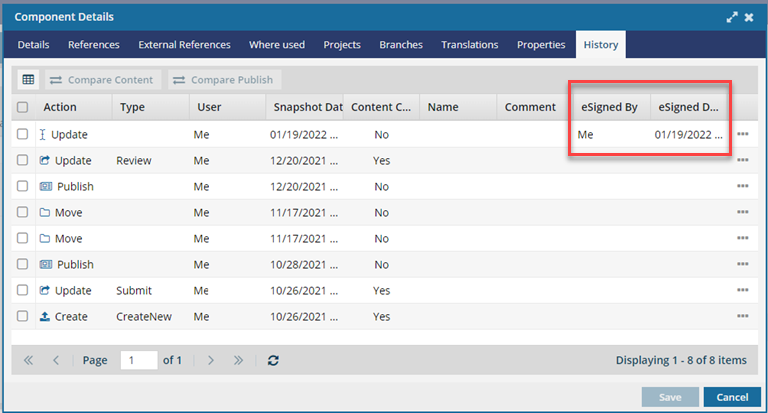
To see Approval signatures
Any previously attached e-signatures for approval remains part of the component's history when you Unapprove a component.
-
You can see the e-signature details in the two new columns: eSigned By, and Signed Date.