Require electronic signatures
As an Inspire administrator, you can force a user to type in their user name as a form of electronic signature when they're approving a component. The user will also be required to authenticate their accont by entering their Inspire password. This is helpful if you must comply with the Food and Drug Administration's (FDA's) current thinking regarding the scope and application of part 11 of Title 21 of the Code of Federal Regulations; Electronic Records; Electronic Signatures (21 CFR Part 11).
Default - no eSignature required
- In the Components browser, in the
 Options menu, in the Actions submenu, you can select Approve
 - In the Components browser, the
 Draft icon changes to
  Approved

eSignature enabled
- In the Components browser, in the Options menu, in the Actions submenu, you can select Approve...
- The following extra steps are required.
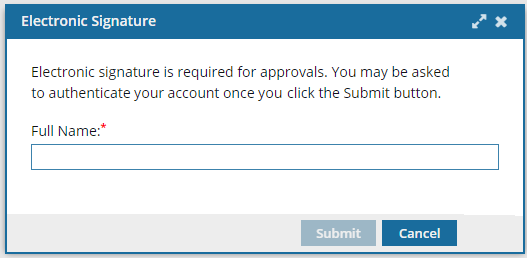
a. On the Electronic Signature screen, enter your Full Name, and then click Submit.
- Do not include underscores or email addresses.
- You must use the name as it appears in your user profile.
- To see what this is, click the
 Profile icon.
 - For example: Jane Doe.
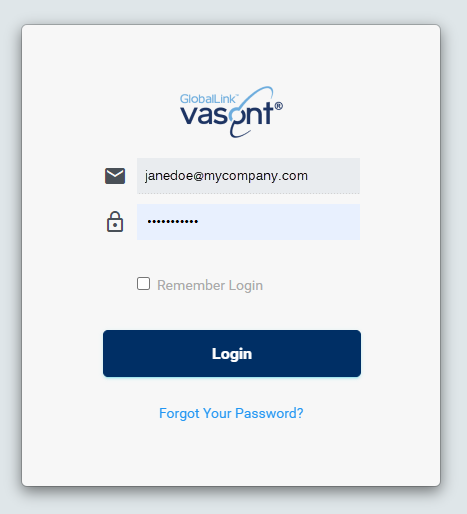
b. On the login screen, enter your Inspire Password  and select Login.
 In the Components browser, the Draft icon changes to
 ![]() eSigned.
eSigned.
 If you enable this feature:
- All components will require a signature before they can be approved.
- You can't limit this functionality to specific folders or components.
- All components included in a project will need to be approved with an authenticated signature.
To require electronic signatures:
-
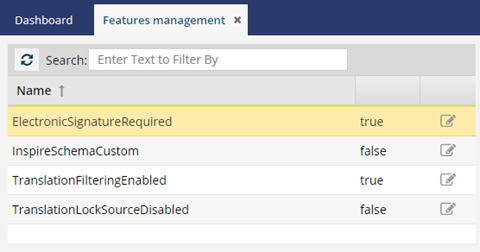
On the Features Management tab:
- After ElectronicSignatureRequired, note the state. If the feature is enabled, it says true.
-
After ElectronicSignatureRequired, click
 Update.
-
The checkbox is highlighted in blue. To change the state, clear or select the checkbox.
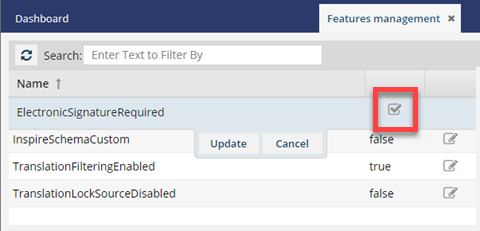
- To enable the feature, select the checkbox.
- To disable the feature, clear the checkbox.