When you're working on a document in the Oxygen-based editor, after you create a table you can add and delete rows, change text alignment, and add borders.
The following steps explain how to access table options from the right-click menu. All right-click options are also available from the editor's toolbar by clicking the table icon.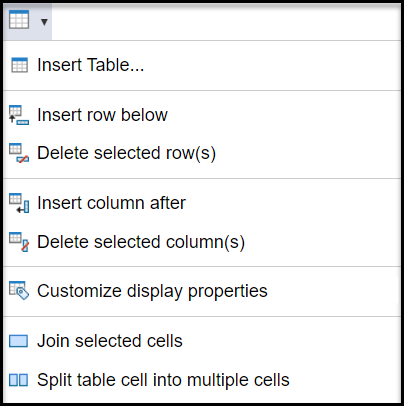
-
In the editor, put your cursor in the row you want to modify.
-
To insert a new row below the current one, right-click and then select
 Insert row below.
-
To delete a row, right-click and then select
 Delete selected row(s).
-
To make a row the header row, right-click and then select
 Customize display properties.
-
On the Customize display properties dialog, select the Row tab.
-
In Row type, select Header, and click OK.
-
To align row text vertically, right-click and then select Customize display properties.
-
On the Customize display properties dialog, select the Row tab.
-
In Vertical alignment, select either top, middle, or bottom.
To align text to the leftmost occurrence of the value specified on the @char attribute for alignment, you can select char. Unless you go into the XML editor and add a value for the @char attribute, the column in the header row is aligned center and all other rows for this column are aligned left.
If some rows already have use an alignment, you can choose <preserve> to keep those settings intact.
If you don't want to specify any alignment for the row (and don't include this attribute in the table XML), you can choose <not set>.
-
To add a border between rows, click the table properties button .
-
On the Customize display properties dialog, select the Row tab.
-
In Row separator, select 1.
If you want to make sure no borders are used between all rows in the table, select 0.
If some rows already have a border, you can choose <preserve> to keep those borders intact.
If you don't want to specify any kind of row border (and don't want to include this attribute in the table XML), you can choose <not set>.
-
To save your row formatting changes, on the Customize display properties dialog, click OK.
-
To save your changes to the document, in the toolbar, click Save.