Manage the taxonomy module
As an Inspire administrator, you can allow users to create an ordered classification of components based on their relationships.

To update module access permissions to Taxonomy:
-
From the
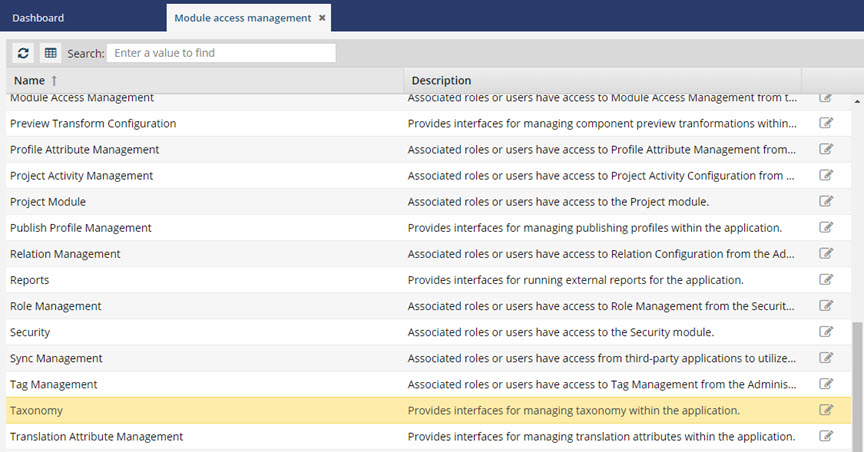
 Security menu, select Module access management.
-
From the Module access management tab, select Taxonomy and click Update
 .
.
-
To update user or role module access, complete the following sub-steps.
-
Select a user or role.
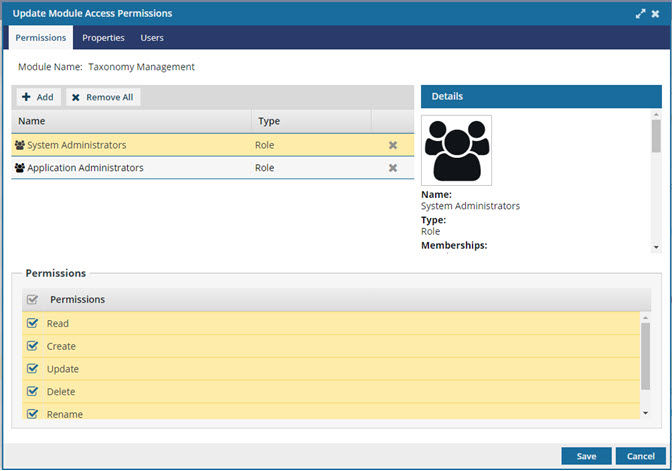
 You can review the Details of the user or role in the new panel on right. You can see information such as Name, Type, and Memberships of the user or role that has access to the module.
 -
To add users or roles, select
 Add .
Add .
-
In the Select Users/Roles dialog, select the checkbox next to the name for available users or roles to add to the module.
On the Select Users dialog, if the list is large or you only want to see a certain type of user, you can narrow the list in the following ways:

- To see only names that contain a word or specific letters, in Filter, enter text. For example you can find names that contain "admin", or "review". You can't search for text in any other column except Name.
- To see all users sorted by Name, Security Type, or User Type, click the column heading and then click the grey arrow. To sort by Name or User Type you can also use the Sort By drop-down box.
- By default, names with a User Type of Support are not included in the list. To see these users, select the Include support users option.
-
To remove user or role access to a module, select a user or role and then click
 Remove.
-
Select a user or role.
- For the taxonomy module, there are no Properties to view.
- To set the permissions, click Save.