Create a snapshot on demand
A snapshot is a copy of a file you have made at a specific moment in time. You can create a snapshot to back up data at different intervals so you can recover information in a file from different periods of time.
 Reasons why snapshots fail to be created
- When you click Create, you may see an error that the snapshot failed to be created. You may see this if any of the following conditions exist:
- Incomplete permissions. If you don't have read permissions for the components you're including in the snapshot, creation of it fails. You see a message with a list of components that you need to get read permissions for to create the snapshot.
- Locked components. If you create a snapshot for locked components or locked component references you see a message that the following components were locked, but the snapshot is created. As a best practice, unlock the components listed in the error message and re-take the snapshot. Follow the steps in Unlock a component.

 A content owner or administrator can set permissions to deny access to components or folders. If your permissions to content has been blocked and you are not an administrator, you cannot use the Save as a snapshot option in a project's Content pane.
Create a snapshot from the Components browser
-
Click
 Components.
-
On the Create snapshot dialog, in Name, enter a descriptive title for the version in 50 characters or less.
 The Name can also be known as the Label.
 - This is because the snapshot Name doesn't replace the component name, but allows you to identify why the history record was created.
- When you create a snapshot on demand, the Name becomes the Label but is always shown as Name.
- When you branch a component, you add a title in the Label field. In the History record (of snapshots), the Label is always shown as Name.
- Later, if you update a snapshot, you can edit the Name (Label) as long as the history record isn't for a Branch action.
- You cannot update the Name (Label) for a snapshot where the Action is Branch.
- You can update the Name (Label) for all other types of snapshots.
- This is because the snapshot Name doesn't replace the component name, but allows you to identify why the history record was created.
-
On the Create snapshot screen, click Create.
 Results:
- You see a message telling you: "The create snapshot process has begun. You will be notified when the process is complete."
- You receive an email and Inspire notification telling you if the process completes successfully or fails.
- You see a component snapshot labeled On Demand on the History tab.
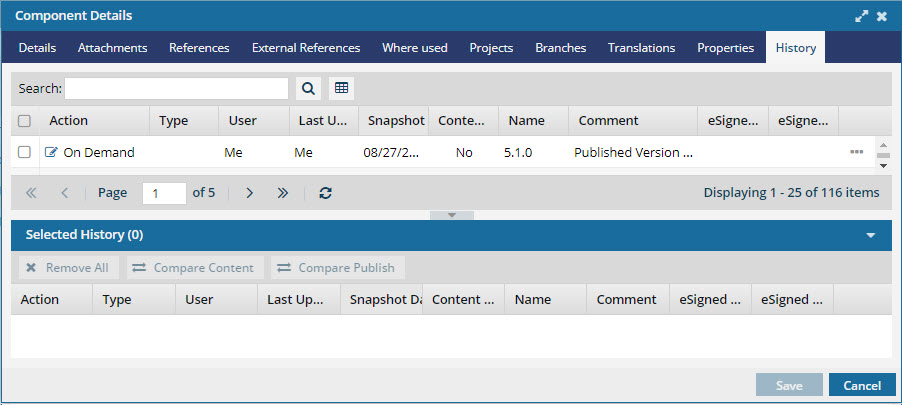 The snapshot automatically contains the source component and any other components that are linked in the source.
Create a snapshot from a project
-
Click
 Projects.
-
On the Project Management tab, double-click the row of the project that contains the component you want to publish.
You can also open the project by:
- Clicking the row to select it, right-clicking to open the Options menu, and selecting Open.
- Clicking the row to select it, clicking
 the Options, and selecting Open.
-
On the project tab, in the Content pane, to open the Content folder, click the expand arrow
 .
.
-
Next to the component name, click the Options menu, select Save, and then select Save as a snapshot....
-
On the Create snapshot dialog, in Name, enter a descriptive title for the version in 50 characters or less.
The Name can also be known as the Label.
- This is because the snapshot Name doesn't replace the component name, but allows you to identify why the history record was created.
- When you create a snapshot on demand, the Name becomes the Label but is always shown as Name.
- When you branch a component, you add a title in the Label field. In the History record (of snapshots), the Label is always shown as Name.
- Later, if you update a snapshot, you can edit the Name (Label) as long as the history record isn't for a Branch action.
- You cannot update the Name (Label) for a snapshot where the Action is Branch.
If you open the Component Details, select the History tab, and choose a record where Action is Branch you cannot select the Update option.
- You can update the Name (Label) for all other types of snapshots.
- This is because the snapshot Name doesn't replace the component name, but allows you to identify why the history record was created.
-
On the Create snapshot screen, click Create.
Results:
- You see a message telling you: "The create snapshot process has begun. You will be notified when the process is complete."
- You receive an email and Inspire notification telling you if the process completes successfully or fails.
- You see a component snapshot labeled On Demand on the History tab. The snapshot automatically contains the source component and any other components that are linked in the source.