Force track changes to stay on
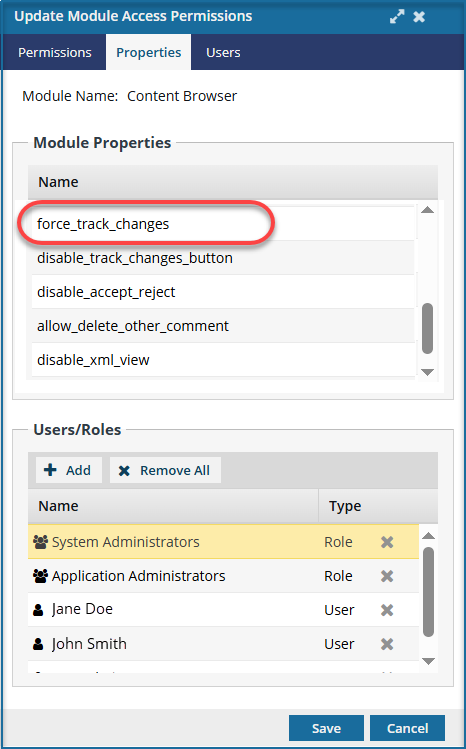
As an Inspire administrator, you can set permissions to grant or deny users and roles access to a specific module. By default, when a user opens a component in the Oxygen editor, the Change Tracking option in the toolbar is turned off and can be managed by the user. If you want to configure Oxygen behavior for a user or role so that Change Tracking is automatically on and can't be turned off, you can add them to the Content Browser module's force_track_changes property in Module Access Management.
 Tips and tricks
The force_track_changes property hides the ![]() Change Tracking option and automatically tracks all changes for all users except administrators.
Change Tracking option and automatically tracks all changes for all users except administrators.
- By default, all users can see and toggle the
 Change Tracking option in the Oxygen editor.
 - If you add a non-administrator user or role to this property, then the user or role:
- Doesn't see the Change Tracking option
- Can make changes to the content
- The changes are highlighted
- The Change Tracking option cannot be turned OFF
 The settings for these properties do not apply when editing a component in a review.
 If you want to hide the
 ![]() Change Tracking option but NOT track any changes, add the user or role to the disable_track_changes_button property. Follow the steps in: Force track changes to stay off.
Change Tracking option but NOT track any changes, add the user or role to the disable_track_changes_button property. Follow the steps in: Force track changes to stay off.


To Force track changes to stay on for a specific user or role:


 Results: