Exclude multiple project components from Save as copy
You can open the Details for a component and apply an ExcludeFromCopy tag. Using this tag prevents another user from copying the file in the Save as copy screen only.
 Restrictions
- You must have Update permissions to the component to make tag changes. Tags are read-only for users without update permissions.
- A content owner or administrator can set permissions to deny access to components or folders. If your permissions to content have been blocked, and you are not an administrator, you cannot use the Details option in a project's Content pane.

 Tips and tricks
- Inspire provides the pre-defined system tag ExcludeFromCopy. Administrators can only customize non-system tag names and availability.
- After you add the tag to a component, it is not shown in the Save as copy screen when Show referenced components is selected.
- References to components that do not show up on the Save as Copy screen will continue to point to the original component.
- Using the ExcludeFromCopy tag does not prevent another user from selecting the tagged component and using the Save option in the Components browser.
- Using the ExcludeFromCopy tag also does not prevent another user from opening the tagged component in Oxygen and saving a copy.
- You can use this tag on binary components such as an image or PDF file.
You can exclude a component from the Save as copy screen in the following ways:
- Exclude one component from Save as copy
- Exclude multiple components from Save as copy
- Exclude one project component from Save as copy
To exclude multiple project components from the Save as copy screen:
-
Click
 Projects.
-
On the Project Management tab, all projects in your organization are listed. To find a specific project, you can:
- Filter the list of available projects by words in the project name. In the Search text box, enter a keyword, and then click the magnifying glass
 .
. - Filter the list of available projects to include only those you own or are participating in. In Type, select an option to filter the list by that criterion.
- To include completed projects in the list, select Include Completed and then click the magnifying glass .
- Filter the list of available projects by words in the project name. In the Search text box, enter a keyword, and then click the magnifying glass
-
To open one project, select the project and double-click it.
 You can also open a project by:
- Right-clicking the project and then selecting Open.
- Clicking
 the Options menu and then selecting Open.
-
In the Content pane, select the components you want to manage tags for.
To see the complete name of the components and use advanced search to search through all folders within a project, click
 the Select Project Components option.
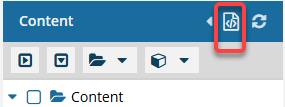
- To see more text in the Components pane, collapse the Folders panel by clicking
 the arrow that's pointing left.
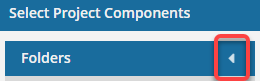
- To quickly expand or collapse the folders, use the
 expand all and
  collapse all buttons.
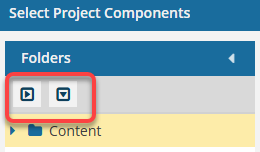
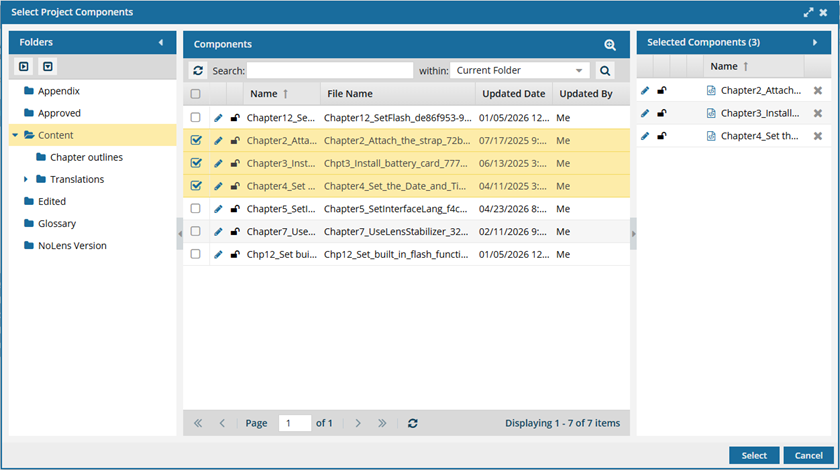
- To find a component by keyword, in Search, enter words or phrases used in the component's name. In Within, select where in the project you want to search (Current Folder, Current and Subfolders, All Folders). Click Search .
- To find a component by creating a query, click
 Advanced Search.
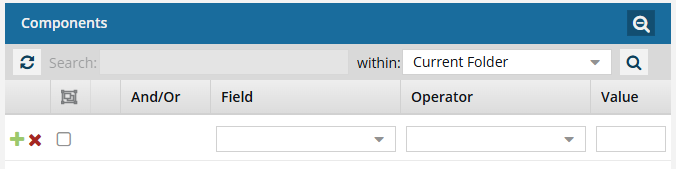
- Fields correspond to the columns in the grid. In the Field list, select the column you want to search in, such as Component State.
- After you select a Field, you must describe the relationship it has with the Value. In the Operator list, to include or exclude some or all of the values that you want to use, select an operator, such as
<>(not equal to). - The options in the Value list change depending on what you selected in Field. In the Value, select or enter the word, phrase, or number you are searching for in relation to the Field. For example, Component State (Field)
<>(Operator) Invalid (Value). - In Within, select where in the project you want to search (Current Folder, Current and Subfolders, All Folders).
- Optionally, to enter another clause to your query, click
 Add. Select whether you want to narrow your search by requiring that all statements must be true (And), or expand your search by requiring that any of the statements can be true (Or).
 - Click Search .
- To select multiple components to manage, select the checkbox for each component.
 Result: The components are listed on the Selected Components panel.
 - To close the Select Project Components screen, click Select.
- To see more text in the Components pane, collapse the Folders panel by clicking
-
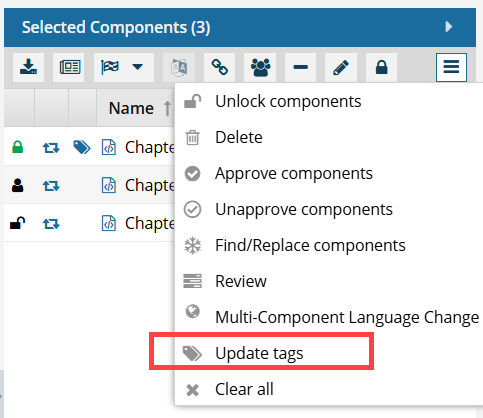
On the Selected Components pane, select
 Update tags.
-
On the Update tags screen, select one of the following options:
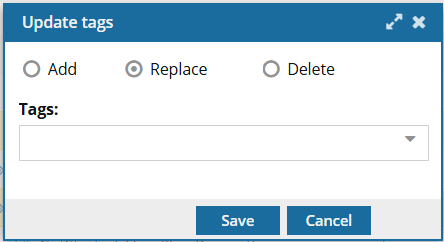
- Add. If you select this option, all previously existing tags are saved, and the ExcludeFromTaxonomy tag is added to them. If the ExcludeFromTaxonomy tag is already applied, and you select Add, you don't see an error, and no change is made to the metadata.
- Replace. (This is the default selection.) If you select this option, all previously existing tags are removed, and the ExcludeFromTaxonomy tag is the only one applied to the components.
- Add. If you select this option, all previously existing tags are saved, and the ExcludeFromTaxonomy tag is added to them.
-
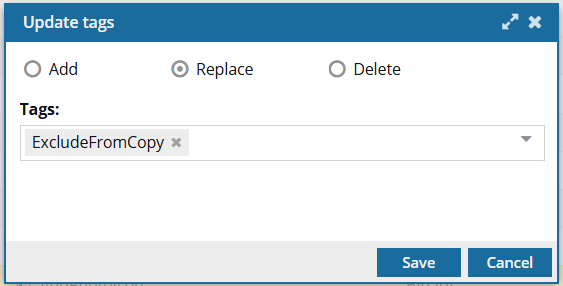
In Tags, select ExcludeFromTaxonomy.
-
Select Save.
Results:
- The Apply tags screen closes, and you see the Components browser.
You see something similar to the following notifications:
 When the process is finished, you see one message for all updated components:
- In the pop-up message in the right corner of the Inspire screen
- In Inspire, on the Notifications tab
- In your email Inbox
 After you apply a tag, you must
  refresh the Components browser before the tag is displayed.You see the component marked with
 the tag icon in the Content pane.
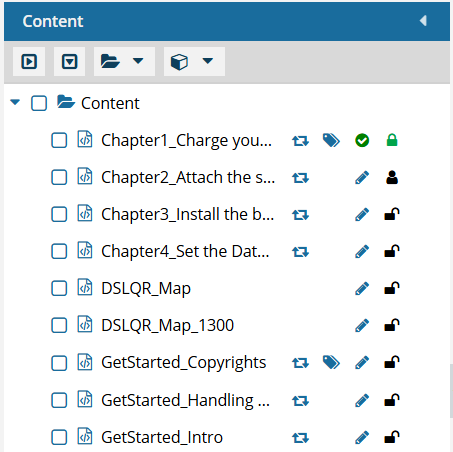 Tips and tricks
- Look in the 2nd column after component name.
- If it exists, the tag icon appears after
 (the Shared icon) and before
  ,
, 
 ,
,  ,
,  , (the State icon).
 - To see the name of all tags that are applied, hover your cursor over the tag icon.