Create a publishing configuration
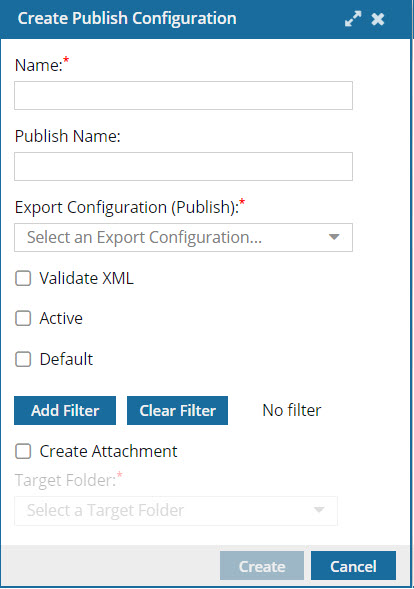
A Publish Configuration lets you specify commonly used settings, such as the process to use to create the output (Export Configuration (Publish)), XML validation, if the configuration should be available to the user to select, and if it is the default choice when they open the Publish Component screen.
 The same settings in the Publish Configuration that an admin creates are also available to the user on the Publish component screen.
- If the user selects different options on the Publish Component screen, their settings are used if they are in conflict with the Publish Configuration that an admin creates.
- If the user selects options on the Publish Component screen that don't conflict with the Publish Configuration that an admin creates, then both sets of options are used.
- Although you can specify the process used to create the output in Export Configuration (Publish), the user can also select it on the Publish Component screen.
- The user's configuration choice is used to create the output, even if it is in conflict with the Export Configuration (Publish) set in the Publish Configuration by an admin.
- Examples of Export Configuration (Publish) options can be:
- HTML
- Zoomin

To create a publishing configuration:
-
From the
 Administration menu, select Publish settings, and then select Publish Configuration Management.
-
On the Publish Configuration Management tab, click Create.
-
If you want to verify that your XML code in your component is valid according to your framework at the time of publishing, select the Validate XML option.
 By default this option is not selected.
 -
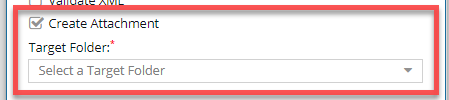
If you want to import the published deliverable back into Inspire automatically, select Create Attachment.
-
In Target Folder, select the location where you want the publish deliverable saved in Inspire.
The file is saved as a binary and named using the following format: Publish-{ComponentName}-YYYY-MM-DD-HHHHMM.
-
In Target Folder, select the location where you want the publish deliverable saved in Inspire.
-
Click Create.
 Results:
 - You see the new configuration on the Publish Configuration Management tab.
- Users don't need to log out and back in to see the new configuration on the Publish Component screen if you marked the new configuration as Active.