Create a Publish export configuration
You must have permission to be an administrator before you can work with export conditions. You can define what format you want to publish content to using a publish export configuration. After structuring and developing your content in Inspire, you can publish components in a format your customers can read. You can select a transformation configuration provided by Inspire or use your own plug-in to transform DITA content into formats such as PDF and HTML output.
To create a Publish export configuration:
-
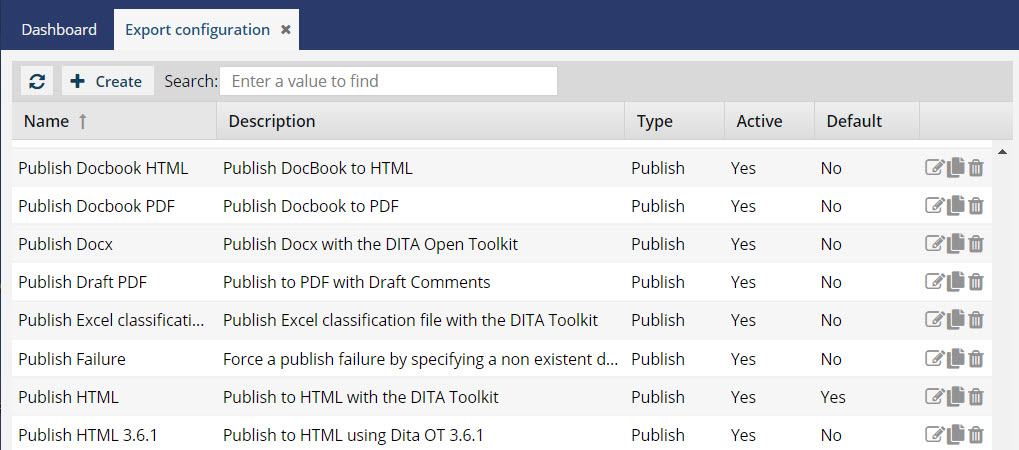
From the
 Administration menu, select Export configuration.
-
On the Details tab:

- In Name, enter a unique title in 50 characters or less.
- Optionally, in Description, enter additional information for this export configuration in 1000 characters or less.
- In Export Type, select Publish.
- If you don't want users to see this configuration when publishing components, clear the Active checkbox.
- To use this Publish configuration automatically unless another is selected when users are publishing components, select Default.
-
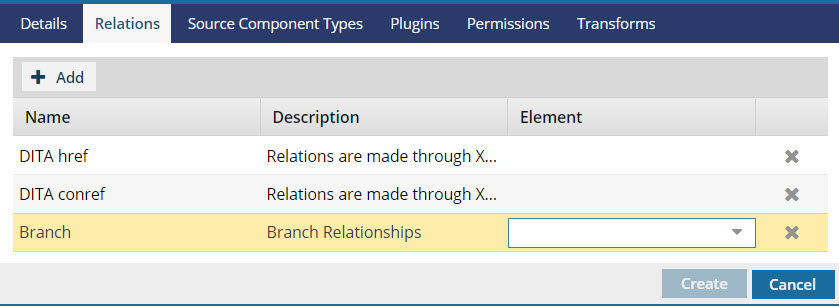
On the Create Export Configuration dialog, select the Relations tab.
-
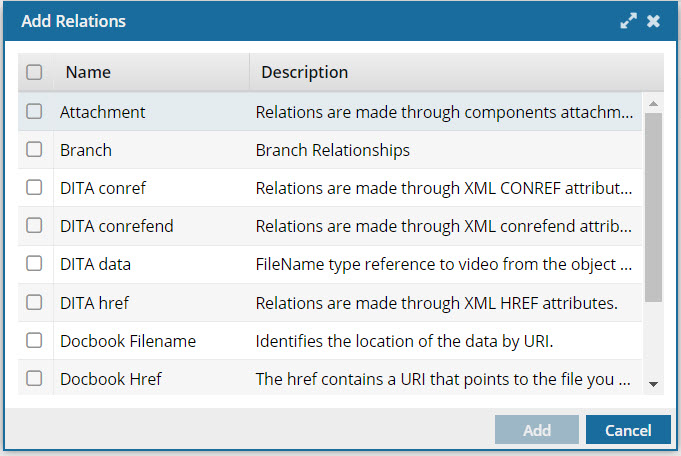
On the Add Relations screen, select the checkbox next to one or more relation and click Add.
-
On the Add Relations tab, to limit the export configuration to a specific element relationship, in the relations row, click the Elements column, and use the drop down arrow
 to select the element name.
 Result: Adding an element name to the relation limits the export to only the specified element relationship. By default, the element name is empty and all relations apply to all element types defined within the relation.
-
On the Add Relations screen, select the checkbox next to one or more relation and click Add.
-
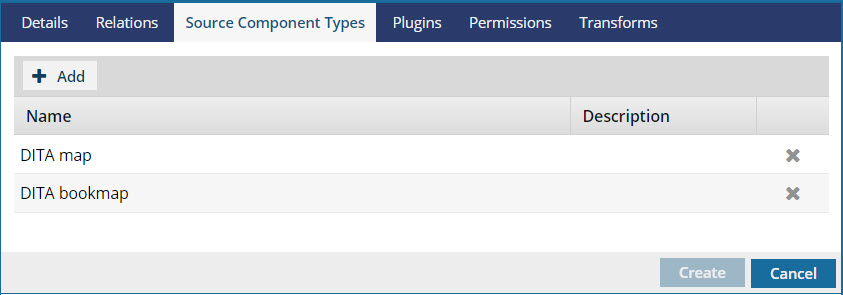
On the Create Export Configuration dialog, select the Source Component Types tab.
-
On the Add Source Component Types screen, select the checkbox next to one or more type and click Add.
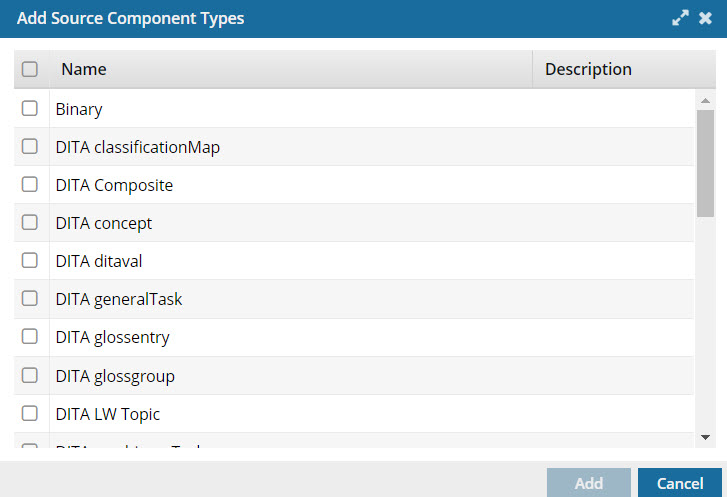 Result: The export configuration can now only be used to publish the content types you specified.
-
On the Add Source Component Types screen, select the checkbox next to one or more type and click Add.
-
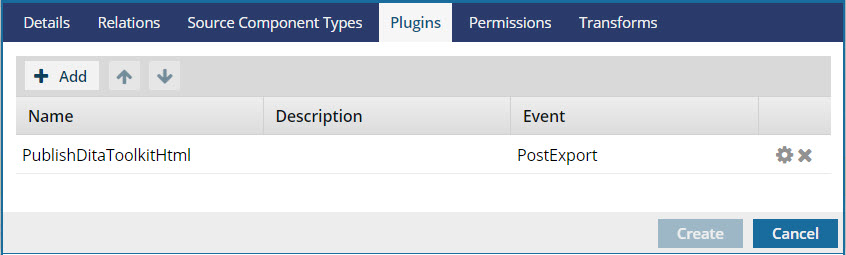
On the Create Export Configuration dialog, select the Plugins tab.
-
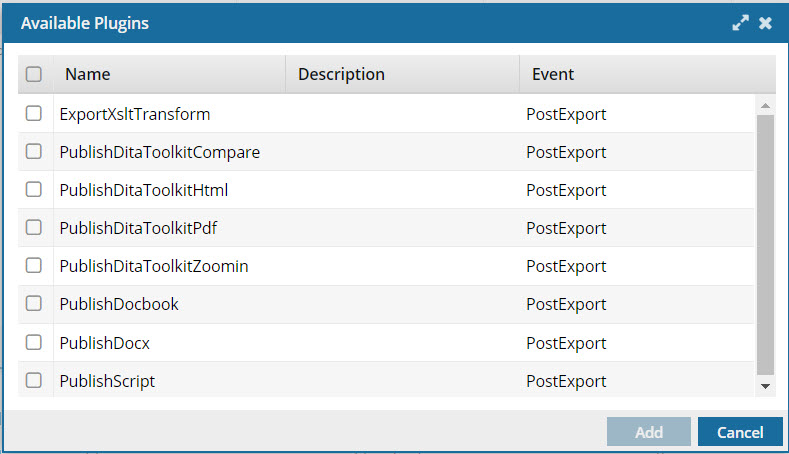
On the Available Plugins screen, select the checkbox next to one or more plugin and click Add.
-
Optionally, the Plugins tab, if you have more than one plugin listed, you can set the order in which they are used. To move a plugin up or down in the list, click
 Move up or
  Move Down.
-
Optionally, you can configure plugin parameters. Required parameters display in bold. You must enter required parameter values before you can save.
- Click
 Setup plugin parameters.
 - Select the Value field for a parameter.
- Enter parameter values.
- Click Save.
- Click
-
On the Available Plugins screen, select the checkbox next to one or more plugin and click Add.
-
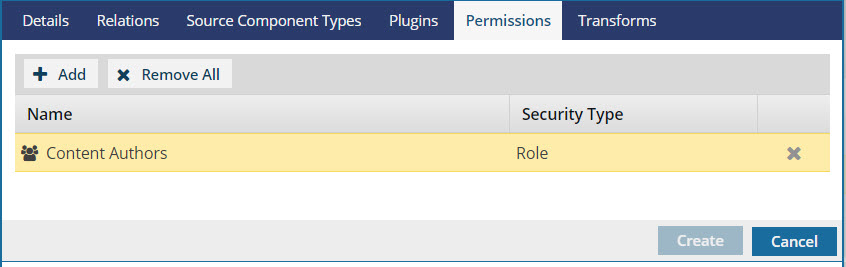
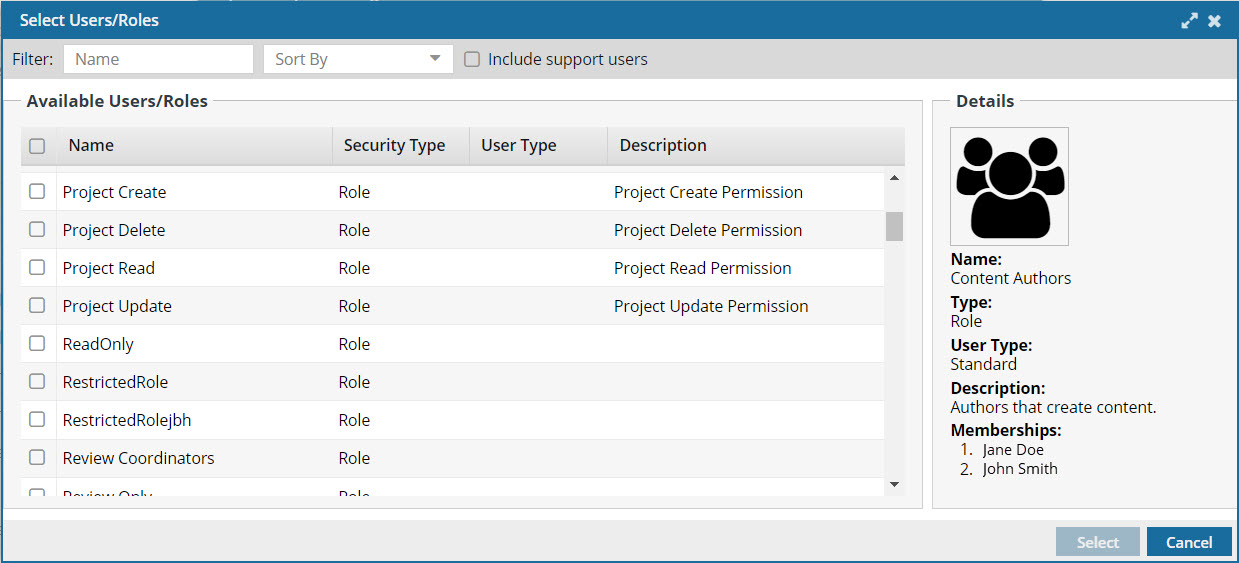
To limit which users and roles can select this export configuration, select the Permissions tab.
-
On the Select Users/Roles screen:
-
On the Select Users/Roles screen:
-
To add an XSLT (Extensible Stylesheet Language) transformations, select the Transforms tab.

- To add an XSLT that converts an XML document into another format using a set of rules, click Add.
- On the Select Components screen, use the Folders and Components panes to select the XSLT file saved in Inspire.
- Click Select.
-
Optionally, on the Transforms tab, if you have more than one XSLT listed, you can set the order in which they are used. To move an XSLT up or down in the list, click Move up or Move Down.