Set permissions for multiple components in a project
You can give other users or roles permissions to read, create, update, delete, or rename components in a project. You can also set permissions for all components in a project folder.
You can set permissions in other ways:
- Set folder permissions
- Set permissions for one component in the browser
- Set permissions for one component in a project
- Set permissions for multiple components in the browser

To set permissions for multiple components in a project:
-
Click
 Projects.
-
On the Project Management tab, all projects in your organization are listed.
 To find a specific project, you can:
- Filter the list of available projects by words in the project name. In the Search text box, enter a keyword, and then click the magnifying glass
 .
. - Filter the list of available projects to include only those you own or are participating in. In Type, select an option to filter the list by that criterion.
- To include completed projects in the list, select Include Completed and then click the magnifying glass .
- Filter the list of available projects by words in the project name. In the Search text box, enter a keyword, and then click the magnifying glass
-
To open one project, select the project and double-click it.
You can also open a project by:
- Right-clicking the project and then selecting Open.
- Clicking
 the Options menu and then selecting Open.
-
In the Contents pane, click Expand all
 .
.
-
In the Contents pane, select the checkbox for each component you want to set permissions on.
To see the complete name of the components and use advanced search to search through all folders within a project, click
 the Select Project Components option.
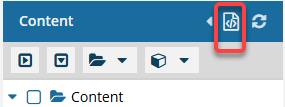
- To see more text in the Components pane, collapse the Folders panel by clicking
 the arrow that's pointing left.
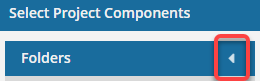
- To quickly expand or collapse the folders, use the expand all and
 collapse all buttons.
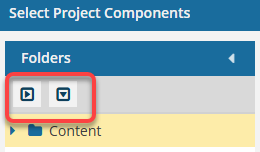
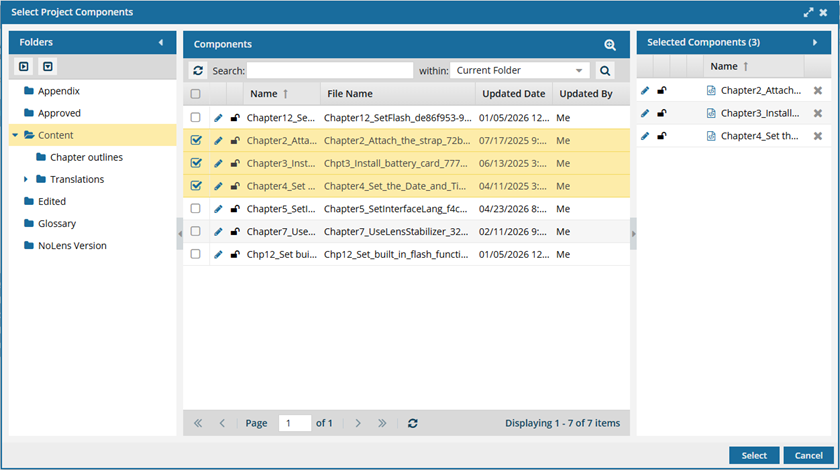
- To find a component by keyword, in Search, enter words or phrases used in the component's name. In Within, select where in the project you want to search (Current Folder, Current and Subfolders, All Folders). Click Search .
- To find a component by creating a query, click
 Advanced Search.
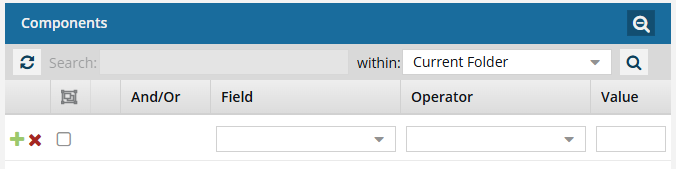
- Fields correspond to the columns in the grid. In the Field list, select the column you want to search in, such as Component State.
- After you select a Field, you must describe the relationship it has with the Value. In the Operator list, to include or exclude some or all of the values that you want to use, select an operator, such as
<>(not equal to). - The options in the Value list change depending on what you selected in Field. In the Value, select or enter the word, phrase, or number you are searching for in relation to the Field. For example, Component State (Field)
<>(Operator) Invalid (Value). - In Within, select where in the project you want to search (Current Folder, Current and Subfolders, All Folders).
- Optionally, to enter another clause to your query, click
 Add. Select whether you want to narrow your search by requiring that all statements must be true (And), or expand your search by requiring that any of the statements can be true (Or).
 - Click Search .
- To select multiple components to manage, select the checkbox for each component.
 Result: The components are listed on the Selected Components panel.
 - To close the Select Project Components screen, click Select.
- To see more text in the Components pane, collapse the Folders panel by clicking
-
In the Selected Components panel, click
 Set permissions.
-
If you want to manually set permissions for the components, clear the Inherit Permissions from Parent Folder option and complete the following sub-steps.
-
To add user or role permissions besides the default read-only, in the Permissions list, select from the other options of Create, Update, Delete, Rename, and Set permissions.
 The Update and Delete permissions are no longer tied together.
- If you want to let a user or role move a component between folders, you must give them the Update permission for the component. The Update permission no longer lets that user or role also delete the component by default. You must explicitly grant the Delete permission to let the user or role send the component to the Deleted Items folder.
- If you grant a user or role permission to delete a component, they can no longer also move the component between folders by default. You must explicitly grant the Update permission to let the user or role move the component.
-
To add user or role permissions besides the default read-only, in the Permissions list, select from the other options of Create, Update, Delete, Rename, and Set permissions.
-
On the Set Permissions dialog, click Save.
Results: The components' permissions are now updated.
 Keep in mind that if you remove a user's permission to access components or folders, and the user is not an administrator, the user's browser view and Options menus change in the following ways:
- If a non-admin user doesn't have any permissions, even Read permission, for folder and corresponding components, they don't see them in the Components browser.
- If a non-admin opens a project that contains a component they don't have permission to, they can see it and select it in the project, but the action is not completed, and the user gets a warning that they don't have permissions to perform that action.