Create a snapshot in a project
A snapshot is a record you make of data at a specific moment in time. Records can include a single component or a component and all of its referenced components. You can create snapshots to back up data at different intervals, so that you can recover information from a topic at different times.
 Reasons why snapshots fail to be created
- When you click Create, you may see an error that the snapshot failed to be created. You may see this if any of the following conditions exist:
- Incomplete permissions. If you don't have read permissions to the components you're including in the snapshot, the snapshot isn't created. You see a message with a list of components that you need to get read permissions for to create the snapshot.
- Locked components. If you create a snapshot for locked components or locked component references, you see a message that the following components were locked, but the snapshot is created. As a best practice, unlock the components listed in the error message and re-take the snapshot. Follow the steps in Unlock a component.

 A content owner or administrator can set permissions to deny access to components or folders. If your permissions to content have been blocked, and you are not an administrator, you cannot use the Save as a snapshot option in a project's Content pane.
To create a snapshot in a project:
-
Click
 Projects.
-
On the Project Management tab, double-click the row of the project that contains the component you want to publish.
 You can also open the project by:
- Clicking the row to select it, right-clicking to open the Options menu, and selecting Open.
- Clicking the row to select it, clicking
 the Options, and selecting Open.
-
On the project tab, in the Content pane, to open the Content folder, click the expand arrow
 .
.
-
To select a component, click the name.
To see the complete name of the components and use advanced search to search through all folders within a project, click
 the Select Project Components option.
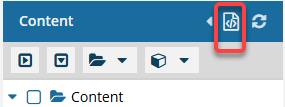
- To see more text in the Components pane, collapse the Folders panel by clicking
 the arrow that's pointing left.
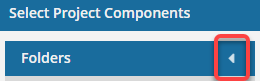
- To quickly expand or collapse the folders, use the
 expand all and
  collapse all buttons.
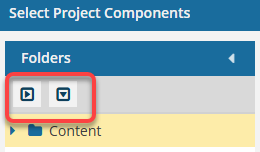
- To find a component by keyword, in Search, enter words or phrases used in the component's name. In Within, select where in the project you want to search (Current Folder, Current and Subfolders, All Folders). Click Search
 .
. - To find a component by creating a query, click
 Advanced Search.
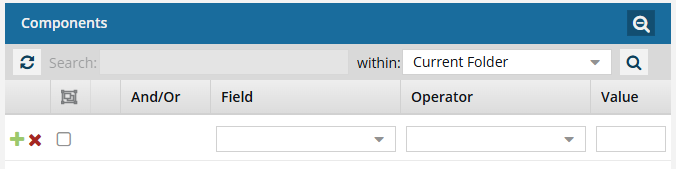
- Fields correspond to the columns in the grid. In the Field list, select the column you want to search in, such as Component State.
- After you select a Field, you must describe the relationship it has with the Value. In the Operator list, to include or exclude some or all of the values that you want to use, select an operator, such as
<>(not equal to). - The options in the Value list change depending on what you selected in Field. In the Value, select or enter the word, phrase, or number you are searching for in relation to the Field. For example, Component State (Field)
<>(Operator) Invalid (Value). - In Within, select where in the project you want to search (Current Folder, Current and Subfolders, All Folders).
- Optionally, to enter another clause to your query, click
 Add. Select whether you want to narrow your search by requiring that all statements must be true (And), or expand your search by requiring that any of the statements can be true (Or).
 - Click Search .
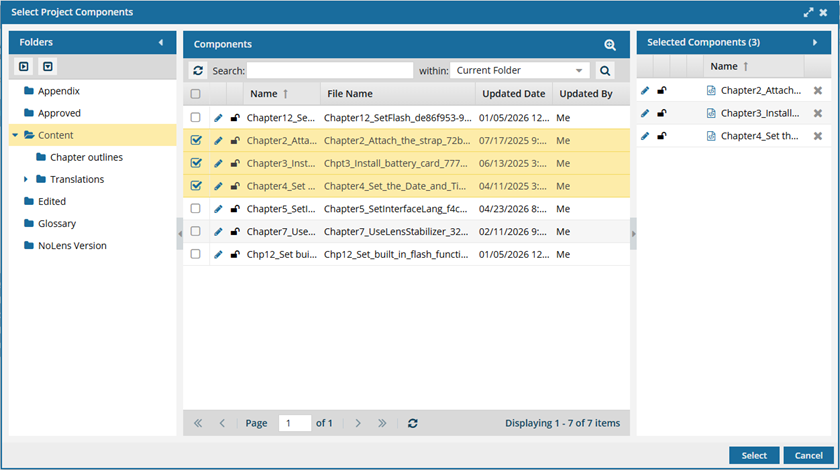
- To select multiple components to manage, select the checkbox for each component.
 Result: The components are listed on the Selected Components panel.
 - To close the Select Project Components screen, click Select.
- To see more text in the Components pane, collapse the Folders panel by clicking
-
Next to the component name, click the Options menu, select Save, and then select Save as a snapshot.
-
On the Create snapshot dialog, in Name, enter a descriptive title for the version in 50 characters or fewer.
The Name can also be known as the Label.
- This is because the snapshot Name doesn't replace the component name, but allows you to identify why the history record was created.
- When you create a snapshot on demand, the Name becomes the Label but is always shown as Name.
- When you branch a component, you add a title in the Label field. In the History record (of snapshots), the Label is always shown as Name.
- Later, if you update a snapshot, you can edit the Name (Label) as long as the history record isn't for a Branch action.
- You cannot update the Name (Label) for a snapshot where the Action is Branch.
If you open the Component Details, select the History tab, and choose a record where Action is Branch, you cannot select the Update option.
- You can update the Name (Label) for all other types of snapshots.
- This is because the snapshot Name doesn't replace the component name, but allows you to identify why the history record was created.
-
On the Create snapshot screen, click Create.
Results:
- You see a message telling you: "The create snapshot process has begun. You will be notified when the process is complete."
- You receive an email and Inspire notification telling you if the process completes successfully or fails.
- You see a component snapshot labeled On Demand on the History tab.
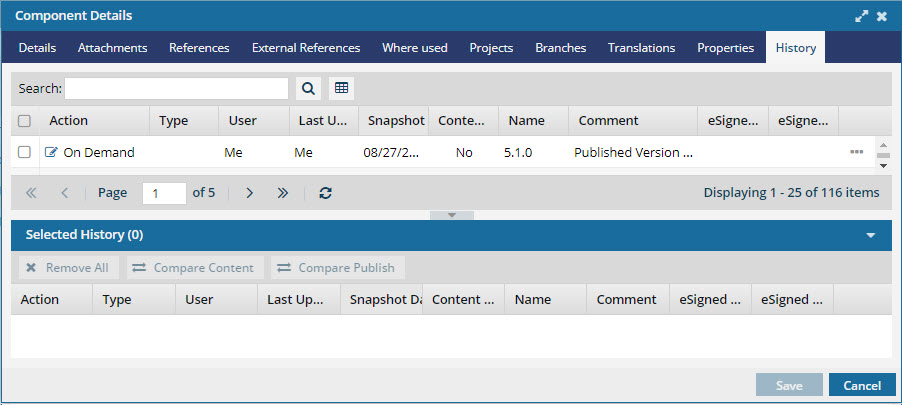 The snapshot automatically contains the source component and any other components that are linked in the source.